Tawk.to example
Tawk.to is one of the industry leading chat provider mainly used in eCommerce, B2B and B2C websites. This section covers a step by step guide to configure Tawk.to with our Chat Widget plugin in your nopCommerce store.
STEPS TO CONFIGURE TAWK.TO
- After you have installed and enabled Chat Widget plugin in your nopCommerce website, please see the steps below to continue to configure tawk.to to enable live chat on your website.
- If you don't already have an account with tawk.to then you can create a free account on tawk.to by clicking on this link.
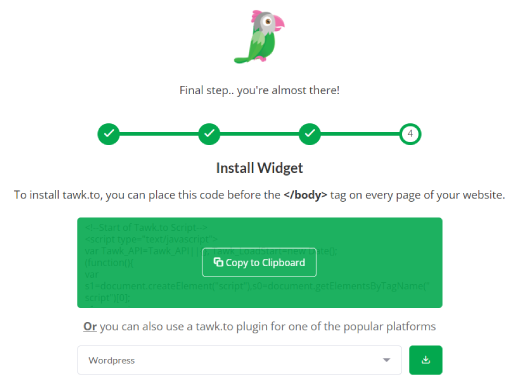
- While creating your account with tawk.to, you will see the script / HTML code in the final step as shown in the image below. You need to copy the script for further use.
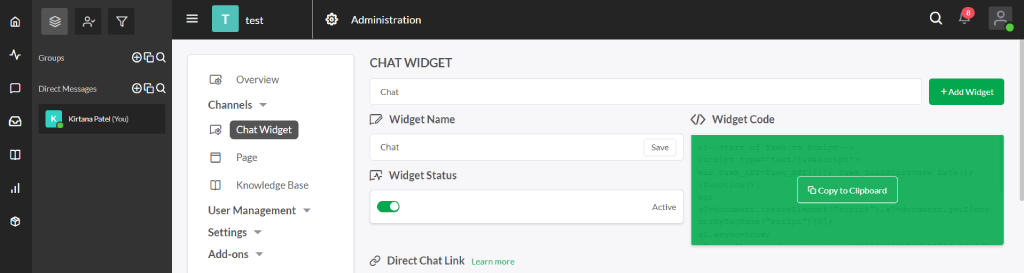
- However, if you missed to copy the script during final step of registration, you may copy the code from the dashboard of your tawk.to account by clicking on the add-on menu item in the dashboard menu. Then you need to click on Chat Widget and copy the code from the Widget code section, as shown in the image below.
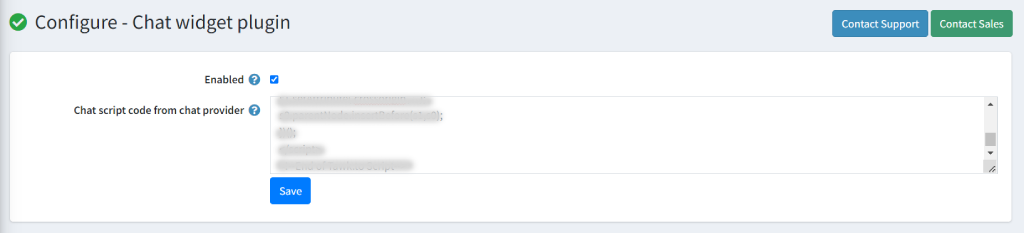
- Once you have copied the script, you can now paste the HTML code into the Chat script code from the chat provider textbox in Chat Widget plugin as shown below in the image below. Click on Save button.
- After you have completed configuring Chat Widget plugin, you may need to clear cookies or restart your website in order to work it properly.
- Once done, please navigate to the public store of your nopCommerce website and refresh your browser page to see the chat widget on your nopCommerce store website similar to shown in the image below.
