How to add a new Slider Picture?
Once you click on the Add New button, it will display the Add a new slider picture as shown in the image below.
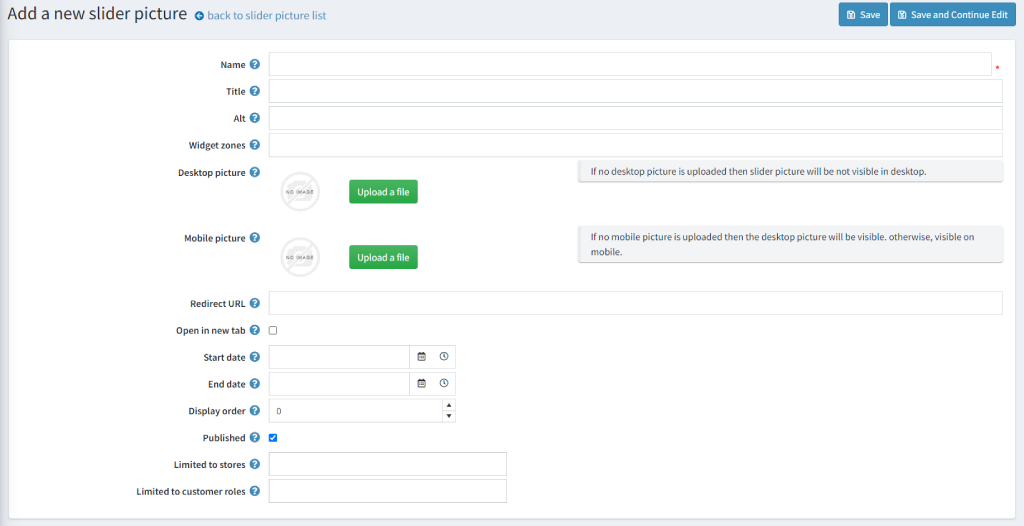
The settings on add a new slider picture are explained below:
- Name: Define a friendly name for the slider picture.
- Title: Add a title name for the slider picture. This title will be displayed on the public store at the bottom of the slider picture. If left blank, no title text will appear on the slider picture.
- Alternet Text: Alt attribute for slider picture fills space when an image fails to load. For SEO reasons, it is advised to provide unique and meaningful value in this field.
- Widget zone: Select the widget zone to display the Slider picture on the public store.
- Desktop picture: Upload the image you want to display on the desktop screen of your nopCommerce website. If the picture size exceeds your store’s maximum image size setting, it will be resized automatically.
- Mobile picture: Upload the image you want to display on the mobile screen of your nopCommerce website. Leave empty if you do not wish to display anything in the mobile version for this slider. Choose any jpg or .png image for mobile to upload. If the picture size exceeds your store’s maximum image size setting, it will be resized automatically.
- Redirect URL: Add a URL to which the image should redirect when clicked.
- Open in new tab: Check to open the redirect URL in a new browser tab.
- Start Date: Select the start date and time to publish the slider on your nopCommerce store.
- End Date: Select the end date and time to end the slider on your nopCommerce store.
- Display Order: Add the display order of the slider picture for the public store.
- Published: Check for publishing and unpublishing slider pictures.
- Limited to stores: Select any store for which you wish not to display a slider picture.
- Limited to customer roles: Select a customer role for whom you wish not to display a slider picture.
- In the end, don’t forget to save all your settings.